|
|
|
|
|
BlueCielo ImandrA 2012 User's Guide | BlueCielo ECM Solutions
|
Importing message attachments into ImandrA
Use the Import Attachment(s) command to import the files attached to an Outlook message into an ImandrA vault.
Note If you only want to import the message itself, use the Import command instead.
To save a message from within Outlook integrated with ImandrA:
- Click Import Attachment(s) on the ImandrA menu or click the Import Attachment(s) button
 . The ImandrAAttachments dialog appears, similar to the following figure.
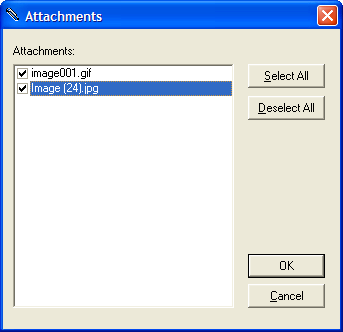
- Select the attachments that you want to save in the vault and click OK. The ImandrASave dialog appears, similar to the following figure.
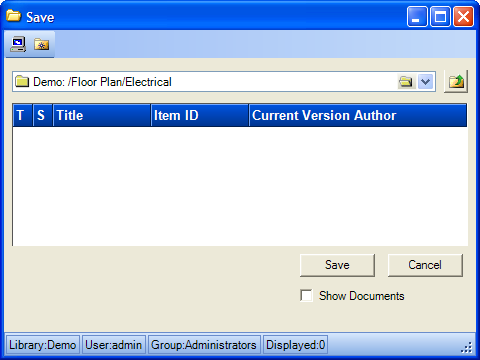
- Navigate to the folder in the vault where you want to save the attachments.
- Enable Show Documents to see the documents that already exist in the selected folder.
- Click Save. The Add Wizard (Step 1 of 2) dialog appears, similar to the following figure.
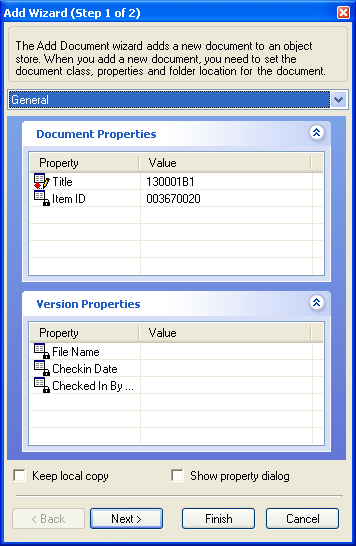
- Select a document class for the attachment from the list. Depending on which class you select, different properties may be listed in the Document Properties and Version Properties lists.
- Enable Keep local copy to retain the selected attachment in its present location in Outlook. Otherwise, the attachment will be deleted after it is imported into the vault.
- Enable Show property dialog to view or edit additional property values before the attachment is added. If you are importing multiple attachments, the Properties dialog is displayed for each attachment so that you can set the attachments’ properties individually.
- Click Next to proceed. The Add Wizard (Step 2 of 2) dialog appears, similar to the following figure.
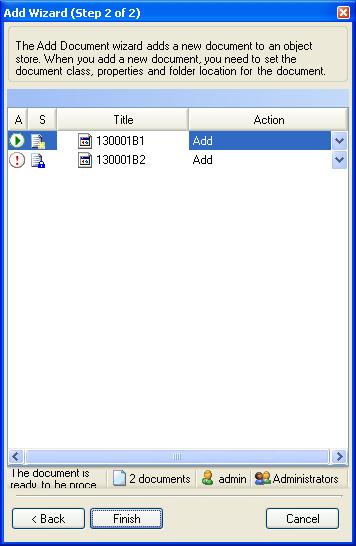
- Confirm that all of the icons in the A column indicate that the actions listed in the Action column can be completed. If you do not want an action to be performed, select another action from the Action list.
- When you are satisfied with all of the actions to be performed, click Finish. If you enabled the Show Property Dialog option, the Properties dialog appears, similar to the following figure. Otherwise, the attachment is imported and the process is complete.
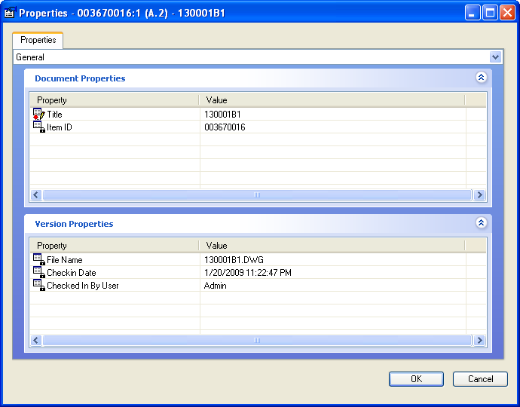
- Confirm or correct the displayed property values and click OK to save your changes. The attachment is imported into the current vault. If you click Cancel, the import operation will be canceled.